Creating, Editing, and Deleting Invoices

The Accounts module can add payments against an invoice or bill. This allows you track how much is still owed against each of those items. To create a payment record against an invoice follow the steps below.

Creating an Invoice

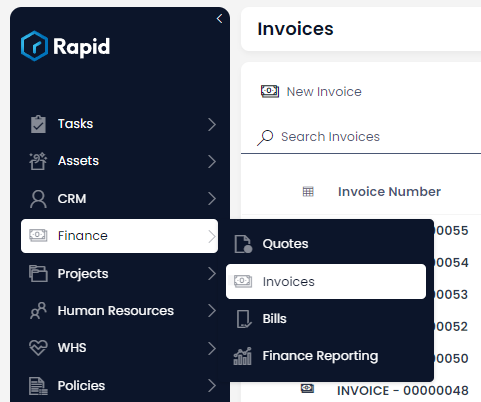
  1. Navigate to the Finance > Invoices

A screenshot of the user navigating to the "Invoices" page via the Explorer sidebar. The user has first selected the "Finance" folder, which has an icon of a stack of cash. The user has then pressed the "Invoices" menu button, which has the same icon. Both menu items that have been pressed have a white background with navy text, whereas the items that have not been selected have the opposite appearance (navy background with white text).

  1. Locate the invoice you wish to add a payment against either by scrolling through the list or using the search bar.
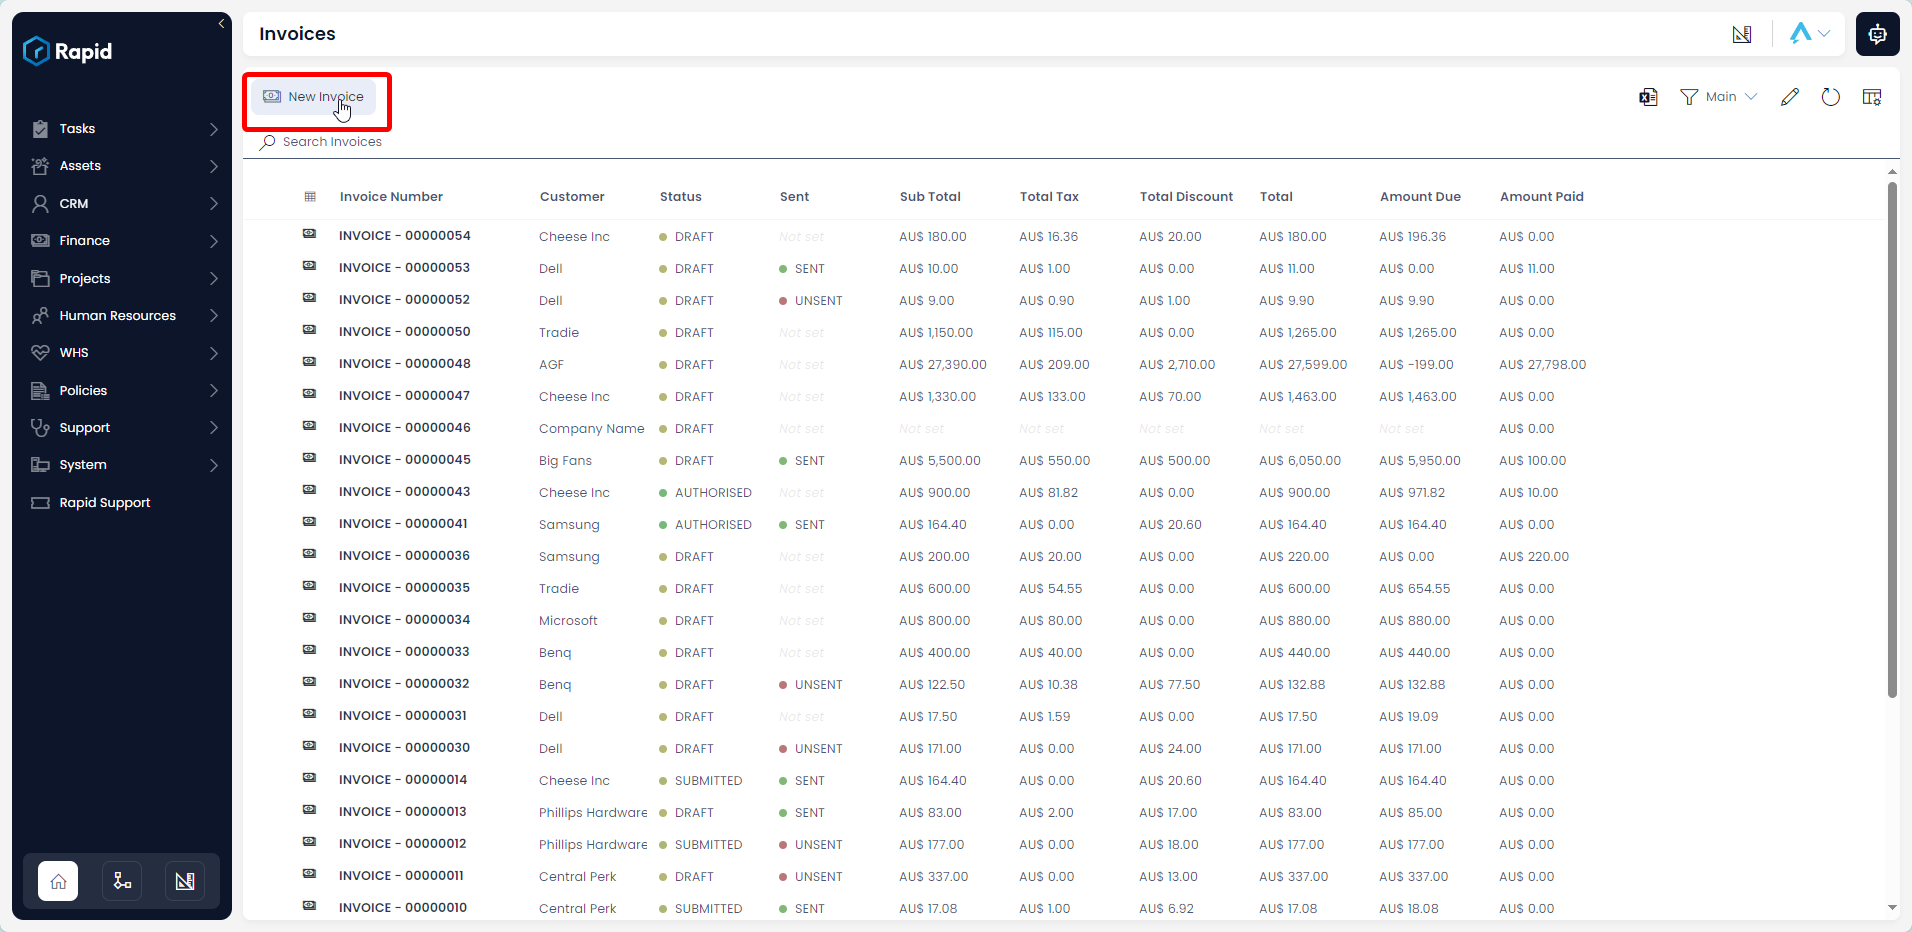
A screenshot of the "New Invoice" button at the top of the "Invoices" list page. The screenshot is annotated with a red box to highlight the location of the button.

  1. Enter all relevant details
Require Fields

The following fields are required: Invoiced Date, Due Date, Customer, and Include Tax on Invoice Lines
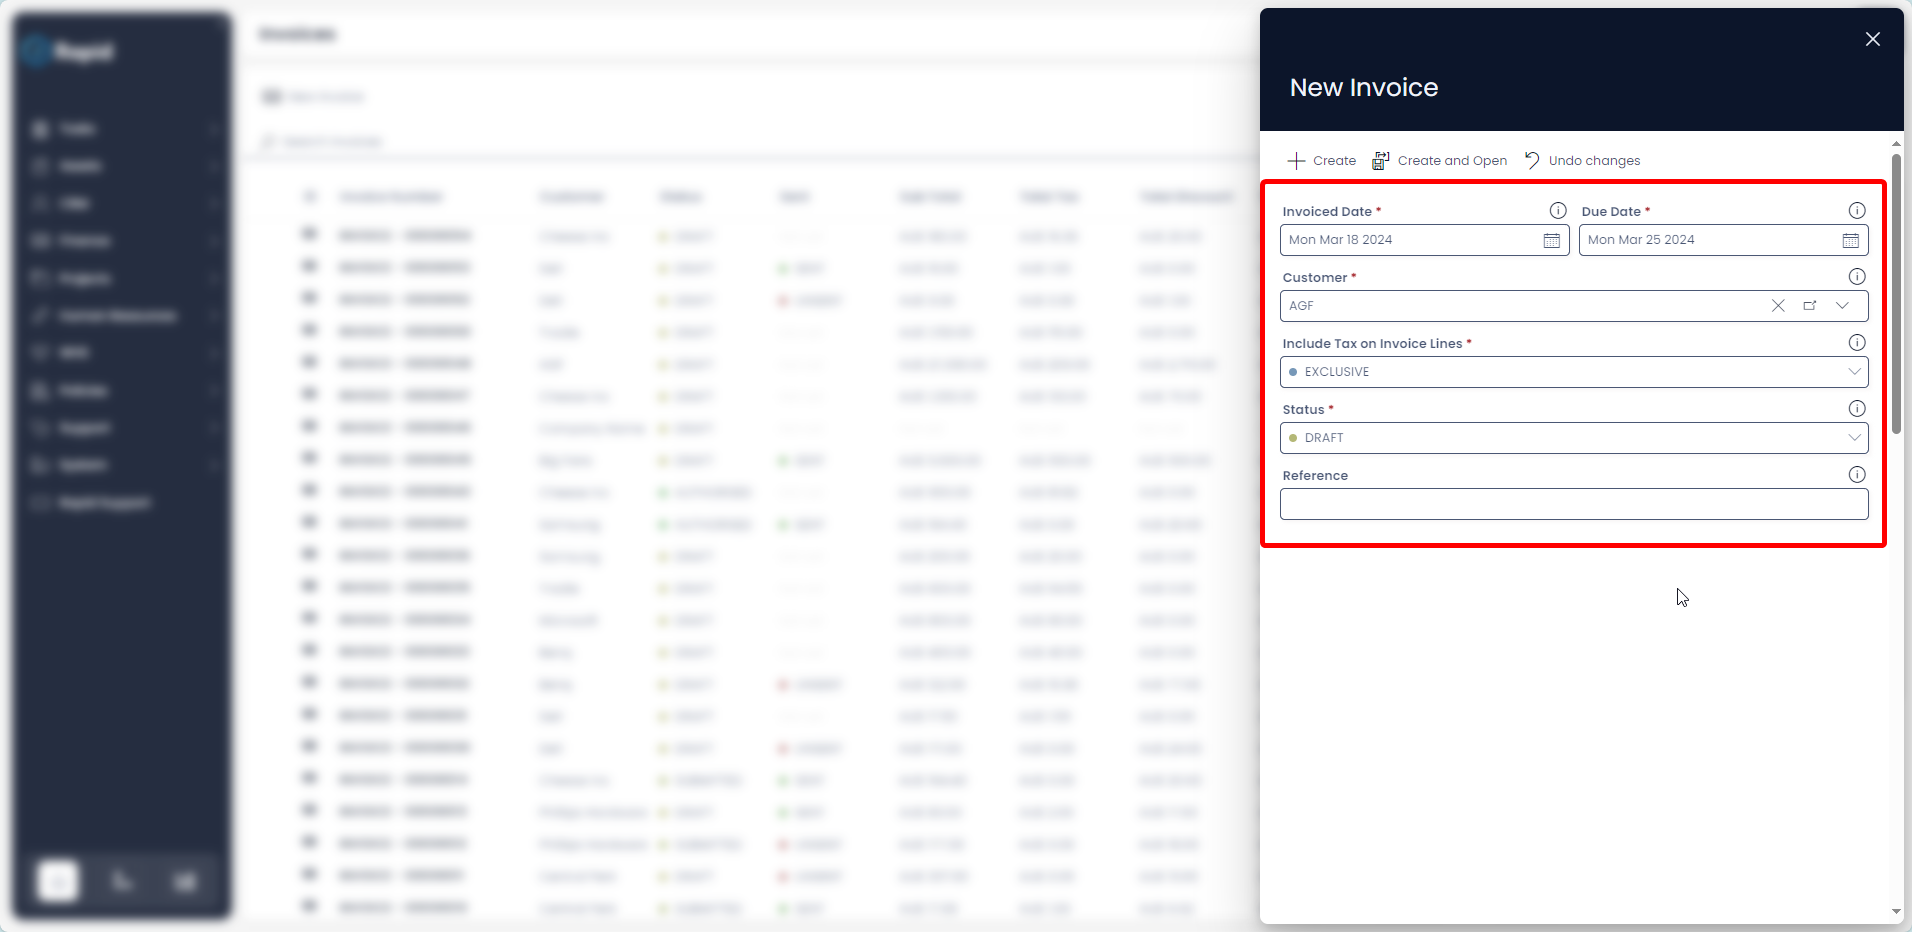
A screenshot demonstrating the appearance of the "New Invoice" create screen. The screenshot is annotated with a red box to highlight the fields that must be edited.

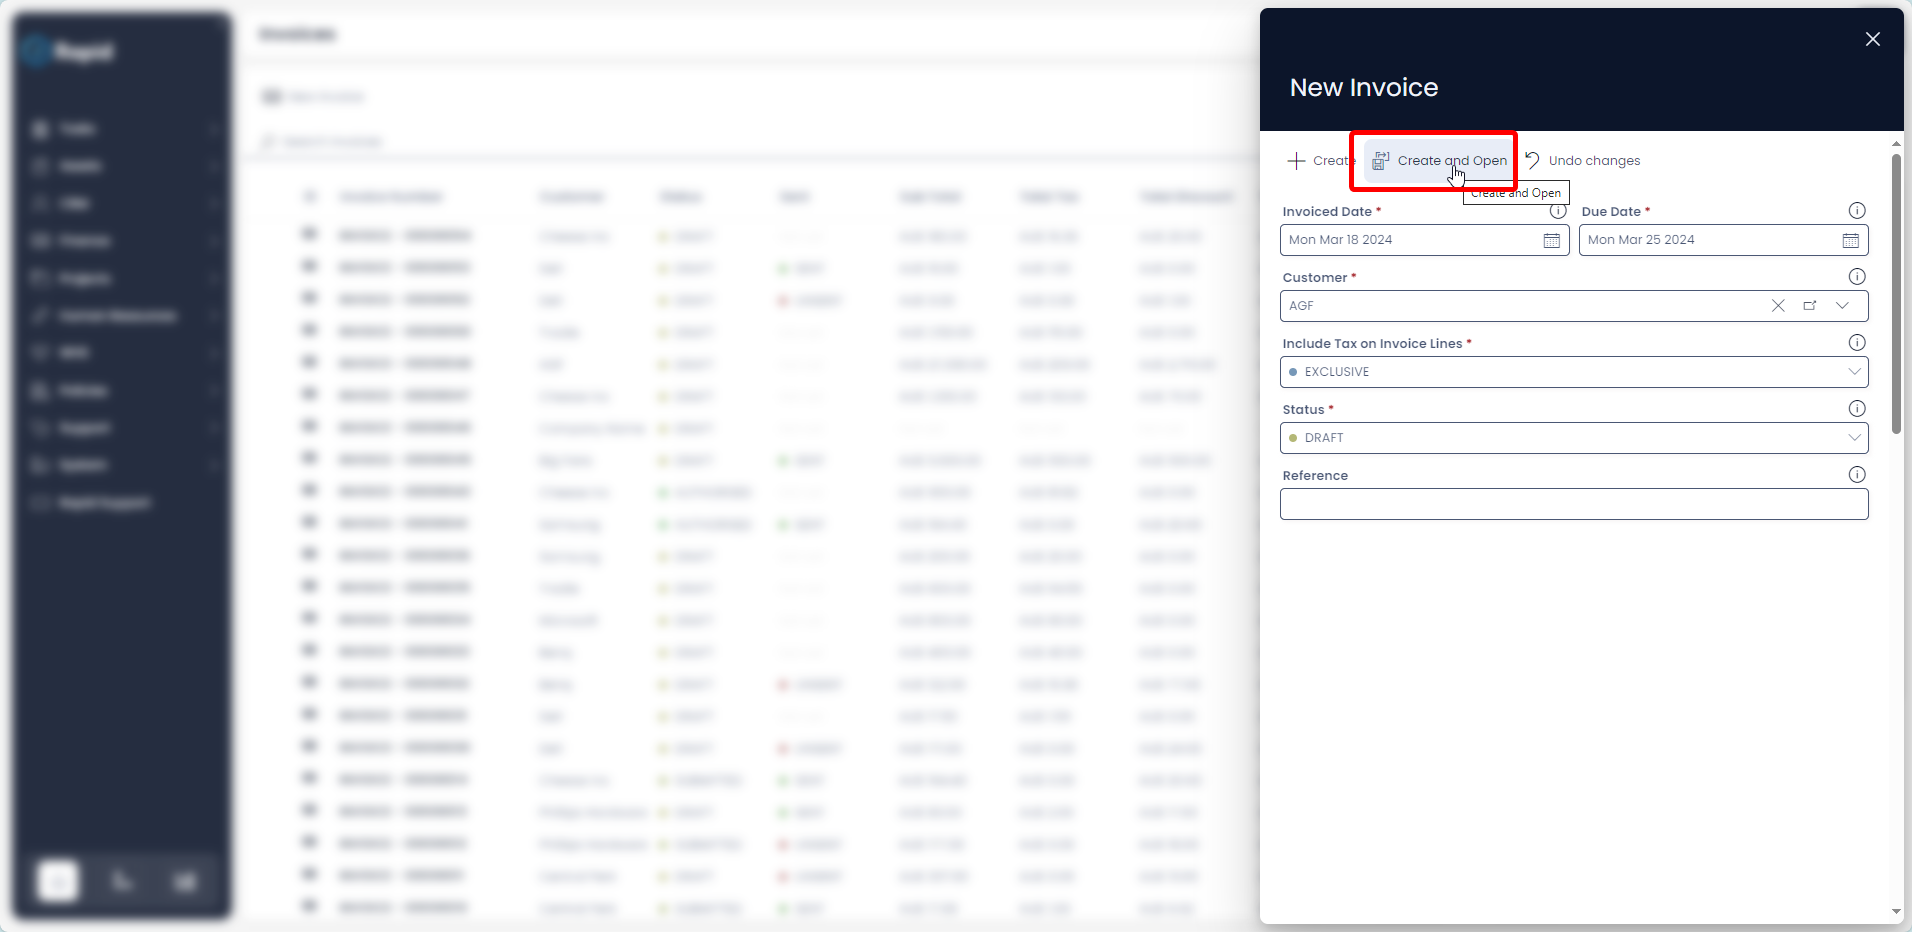
  1. Click on + Create or Create and Open.

A screenshot highlighting the "Create and Open" button on the "New Invoice" create screen. The screenshot is annotated with a red box to highlight the location of the button.

  1. Halfway down the page Click New Invoice Line (This is where you add all the individual line items)

A screenshot of the "New Invoice Line" button in the middle of an example "Invoice" item page. The screenshot is annotated with a red box to highlight the location of the button.

  1. Enter all relevant details
Invoice Lines
  • The following fields are required: Qty and Unit Price
  • By default, there is a 10% Tax rate on invoice items to account for GST, this can be changed to no tax (NA), a fixed tax amount (Fixed), or a fixed tax amount per unit (Fixed per Qty) by adjusting the choice in the Tax Category Field.
  • A discount can be applied on each line item as a fixed amount (Discount Amount) or as a percentage (Discount Percentage)
  1. Click Create

A screenshot of the "+ Create" button at the top of the "New Invoice Line" create screen. The screenshot is annotated with a red box to highlight the location of the button.

  1. Follow steps 5 – 7 for each additional invoice line you wish to create.

Editing an Invoice

  1. Navigate to the Finance > Invoices

A screenshot of the user navigating to the "Invoices" page via the Explorer sidebar. The user has first selected the "Finance" folder, which has an icon of a stack of cash. The user has then pressed the "Invoices" menu button, which has the same icon. Both menu items that have been pressed have a white background with navy text, whereas the items that have not been selected have the opposite appearance (navy background with white text).

  1. Open the invoice you wish to edit either by scrolling through the list or using the search bar.

A screenshot of the "Invoices" list page. The screenshot is annotated with a red box that highlights the search bar, as well as another red box that highlights an individual Invoice item.

  1. Edit any relevant fields on the invoice page as needed.
Editing Invoice Lines

To edit an Invoice Line, click on its title, edit the any relevant fields, and then press Save and Close
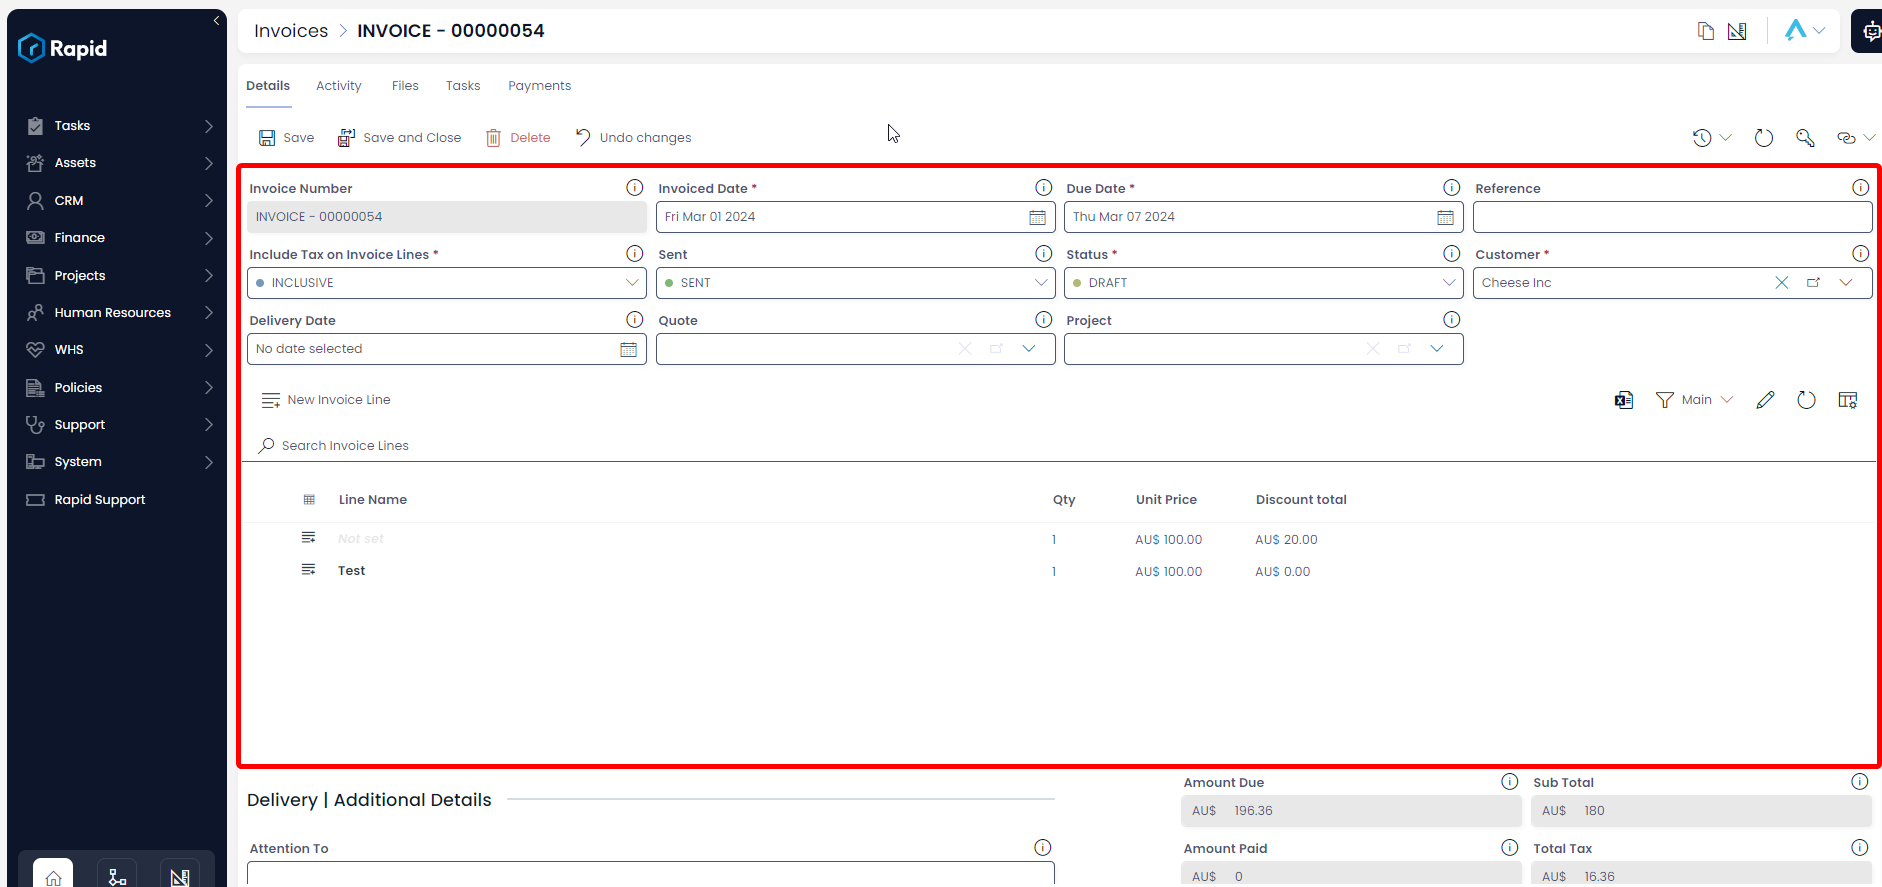
A screenshot of the invoice item page and its fields.

  1. Once you have finished editing press Save or Save and Close

A screenshot of the invoice item page that is annotated with a red box to highlight the location of the "Save" and "Save and Close" buttons at the top of the page.

Deleting an Invoice

It is not recommended to delete an Invoice instead, change its status to "VOIDED." This way you can maintain a record of all Invoices.

However, if you need to delete an Invoice due to incorrect data entry or a duplicate entry, you can do so as described below.

  1. Navigate to the Finance > Invoices

  2. Select the Invoices you wish to delete

A screenshot that demonstrates a user selecting multiple items on the Invoices item list page. The user has selected three items and pressed the selection circles on the far left of the item row. The selection circles appear black white a white checkmark inside them. The screenshot is annotated with a red box to highlight the item circles which are selected.

  1. Press Delete X Invoices

A screenshot that highlights the location of the "Delete X Invoices" button. The button has a red icon of a trash can and a red label that reads "Delete 3 Invoices", because three Invoice items have been selected. The screenshot is annotated with a red box to highlight the location of the button.